Cover Story
At-home nail salon
How to safely remove gel and acrylics without destroying your nails.
3 Minute Read
We have endured so much. Since the implementation of social distancing laws a few weeks ago, we’ve witnessed (and in some cases, succumbed to) panic buying, a nationwide toilet paper shortage, self-made sourdough mania, non-perishable dinners, the list goes on. But perhaps the most disturbing of them all is the state many people have found their nails in. And while we’ve all seen the memes of grown-out gels, for some, this is now a reality. With nail salons remaining closed for the foreseeable future, we’re taking a stand in the face of ugly nails and saying no: enough is enough, we did not work so hard to become an upskilled, (bleached) blonde, Zoom quizmaster and generally-zenned-out-human to come out of quarantine with nails resembling bear claws.
Therefore, we’ve put together a little how-to on safely removing acrylic and gel polish and rehabbing your nails back to pre-ISO days. You’re welcome.
With nail salons remaining closed for the foreseeable future, we’re taking a stand in the face of ugly nails

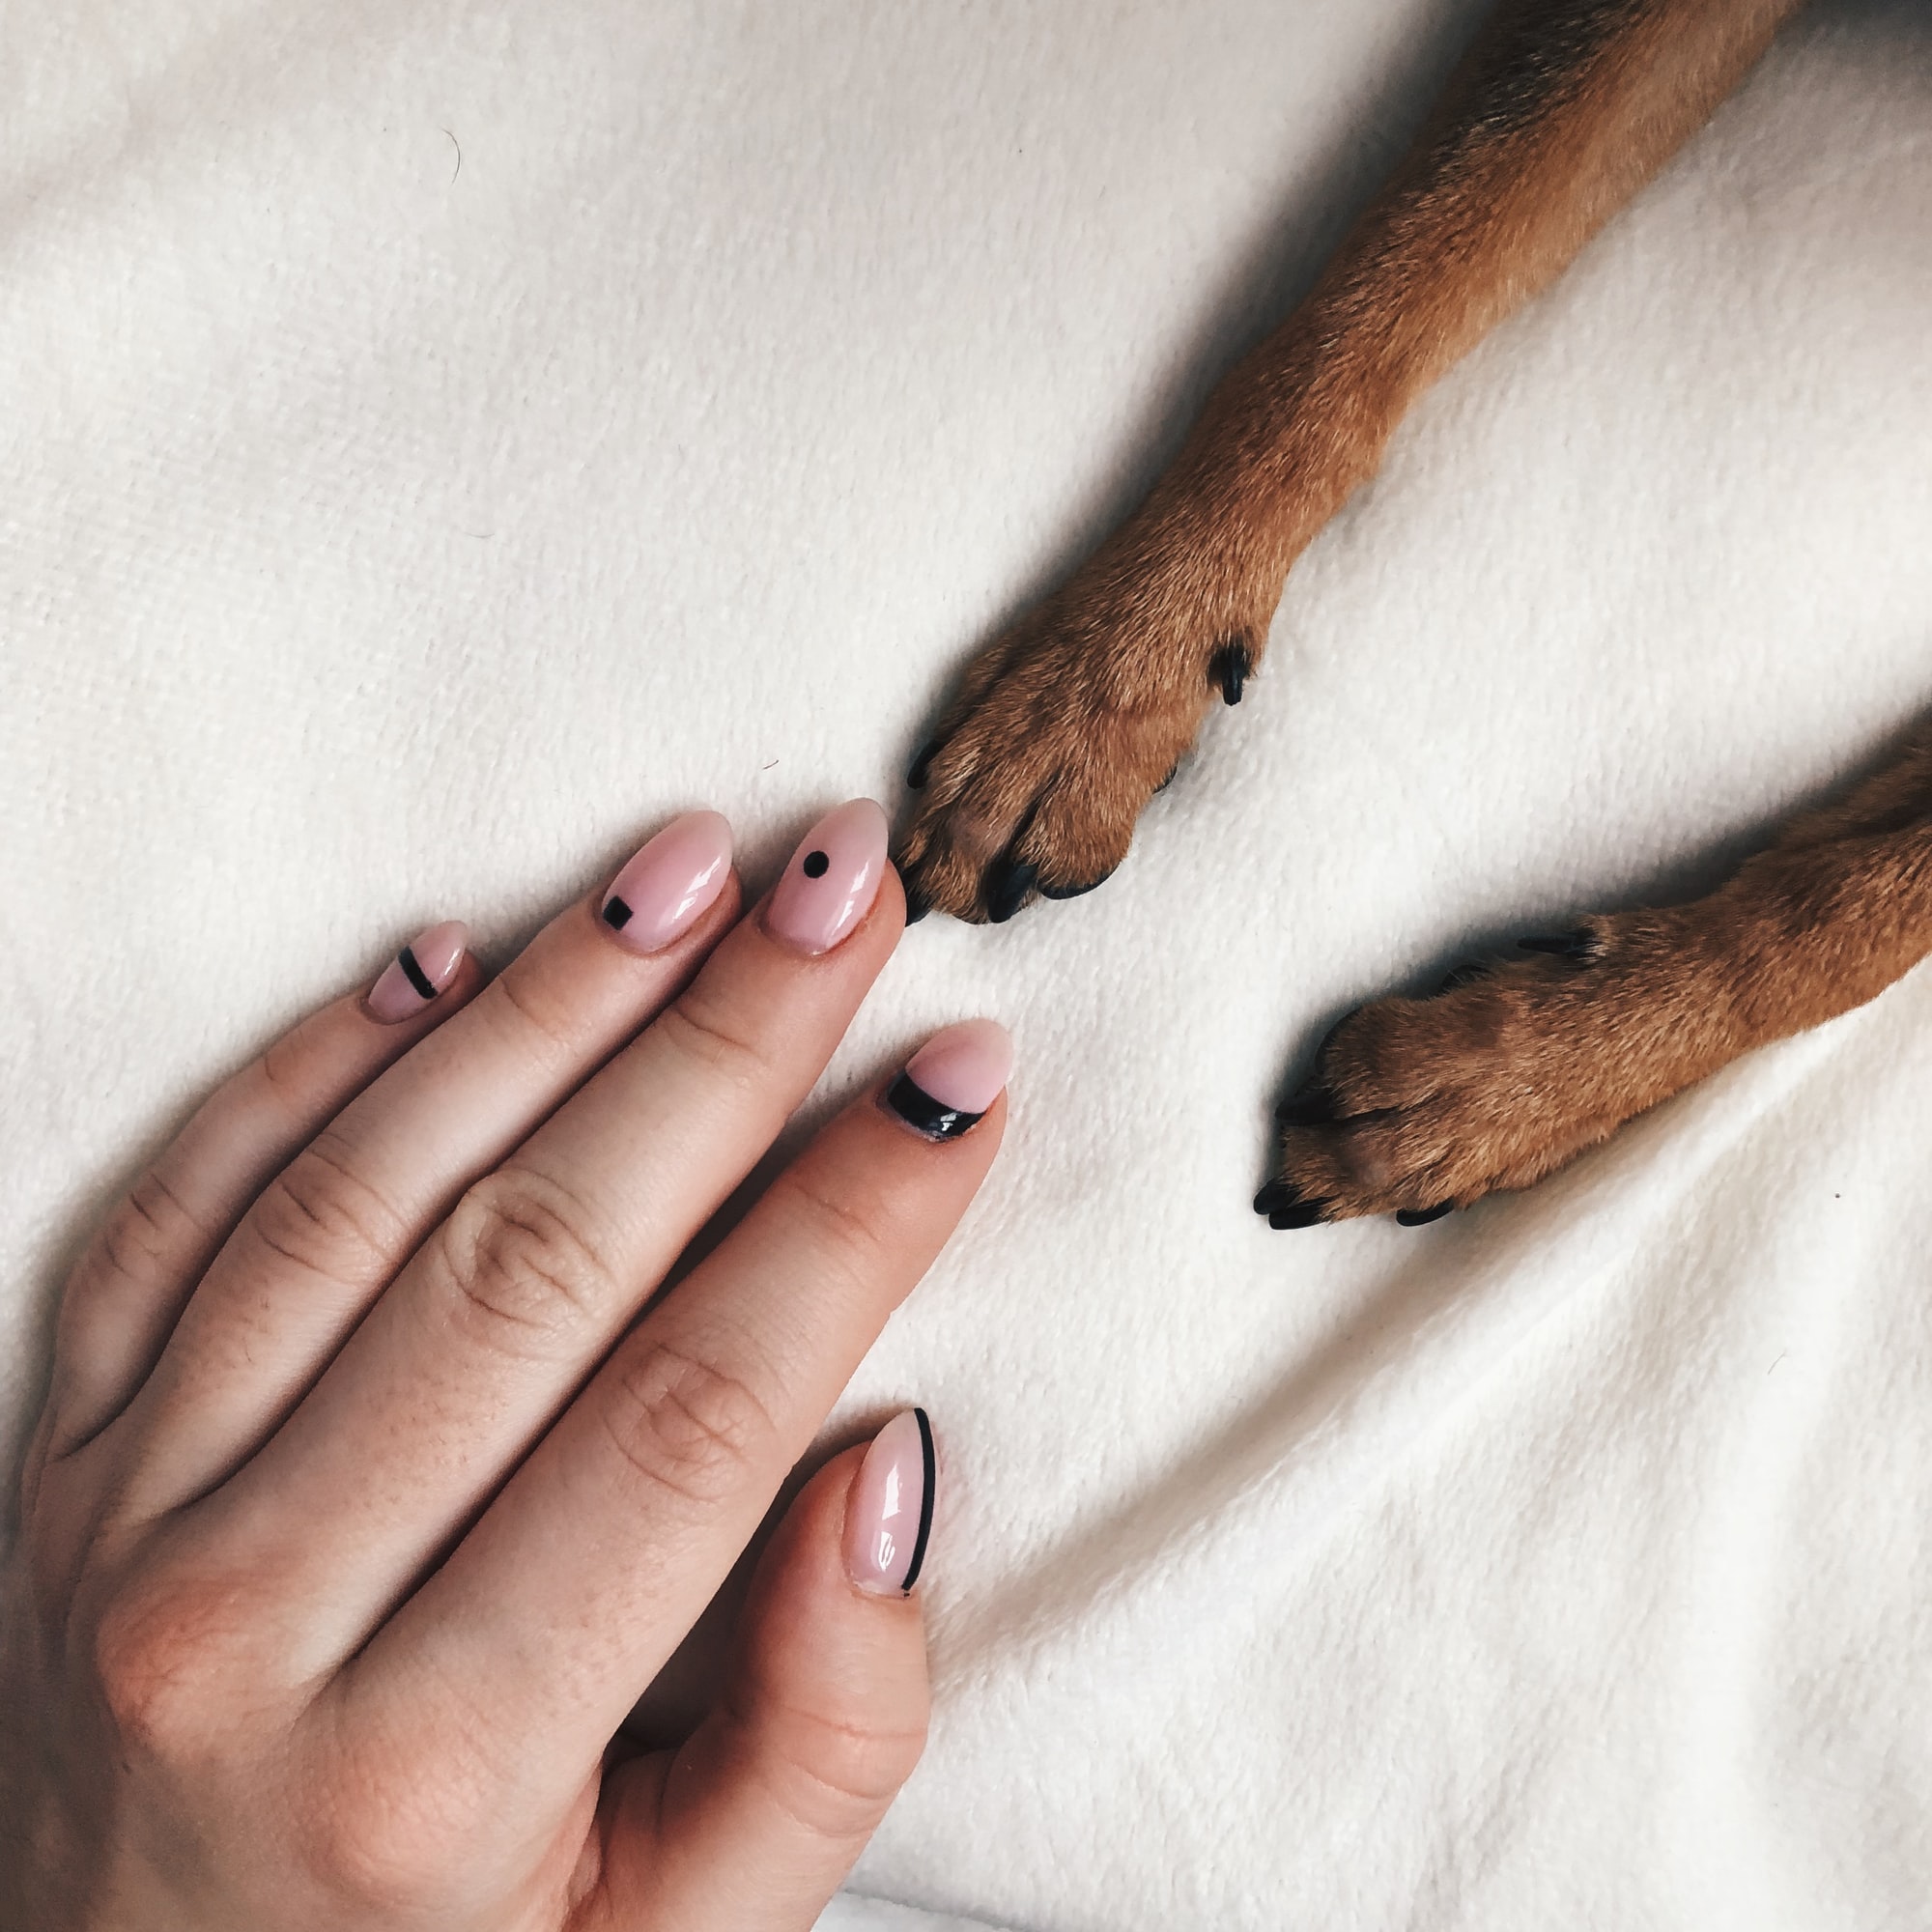
Nail inspo via @alyssainthecity
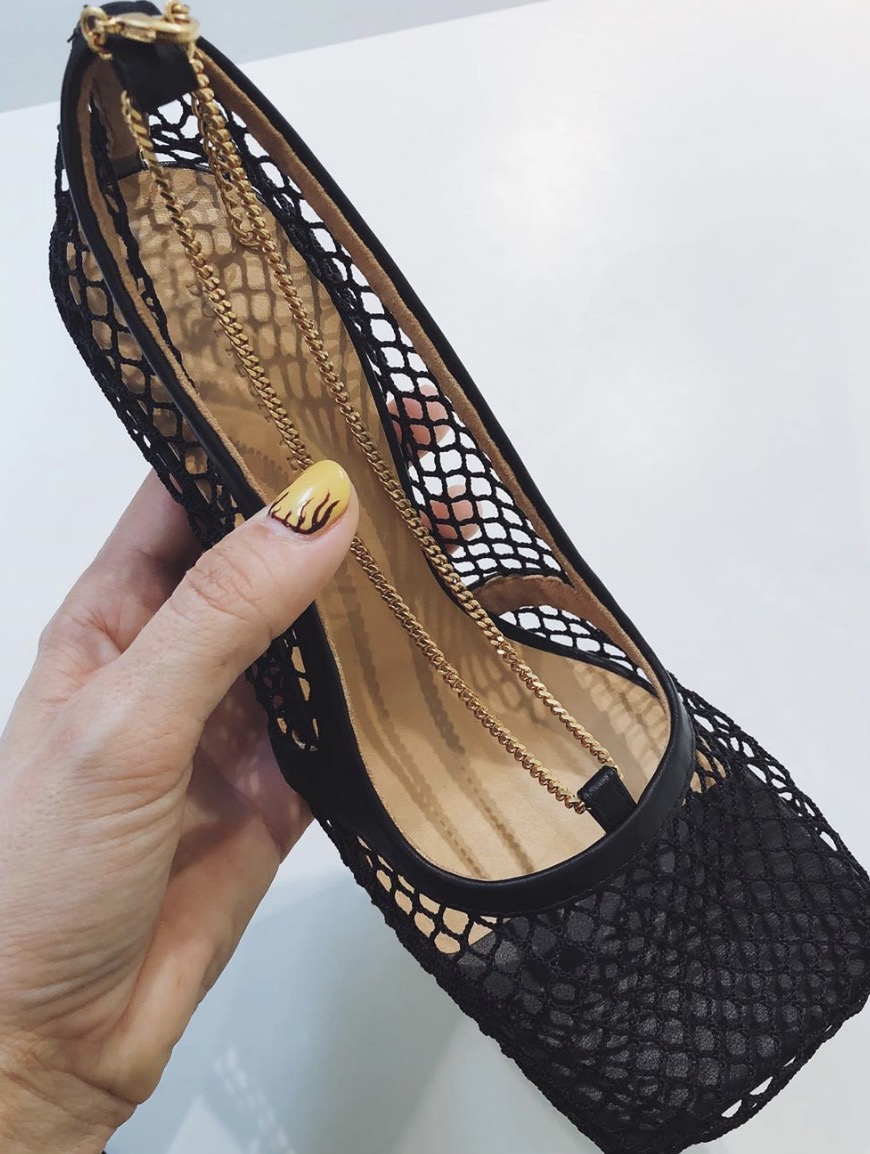
Pre-ISO nail dreaming. Photo: @alwaysjudging
Nail inspo via @alyssainthecity
Pre-ISO nail dreaming. Photo: @alwaysjudging
What you’ll need
Acetone (alternative: nail polish remover with 60 per cent acetone)
Nail file
Foil (cut into 10 squares)
Cotton wool
Buffer
Optional: cuticle stick
Step one: file
Before you can remove acrylic or shellac, you need to file off as much of it as you can. The more you file off, the quicker the rest of the process will be. Using a coarse nail file (100-grit is best) or the sandpaper-looking side of a nail file, begin by filing the nail in an upwards motion, being careful to not over file or file too fast as both can damage your natural nail. File until the shiny layer of polish resembles an opaque appearance, this will ensure the acetone can penetrate the remaining polish.
Step two: soak
At this stage, now that your nails have been stripped back, use either acetone or nail polish remover to remove the remaining gel or acrylic. Acetone is a non-toxic solvent and can be found at most chemists, alternatively some nail polish removers already include acetone within them.
Prepare your station with some cotton wool and foil. Soak cotton balls in acetone or nail polish remover and place over nail surface, securing with foil. Leave for 10–15 minutes or until you start to see the polish begin to peel and flake off. To make things easier, we recommend soaking off one hand at a time.
Step three: buff
Now that you have removed the polish, it’s time to clean up the nail surface. Your nails might still have remnants of polish or flakes of gel on them, this is ok, remove using a cuticle stick or a nail buffer if you don’t have a cuticle stick. We recommend using a wooden cuticle stick over metal as your nails at this stage will be feeling vulnerable and the metal can scratch or damage the surface. Gently push the flakes away from the nail and push the nail bed back. If you still can’t remove the polish, repeat step two for another five or so minutes and try again.
Step four: rehab
While it’s no secret that gel and acrylic polish can be damaging to the nails, the removal process can leave them feeling a bit sore and weak. Whether you’re planning on taking an ISO-hiatus from polish or repainting, we recommend giving your nails a little breathing room and some TLC to ensure they remain strong. If you don’t have access to cuticle oil, you can substitute with jojoba, vitamin E or coconut oil – all of which are packed with tonnes of restorative and moisturising nutrients. They will also help bring some shine and lustre back to your base. Be sure to spread the oil to the surrounding skin on your hands as acetone can dry them out. And viola, you’re officially an unofficial nail technician.